Light pressure
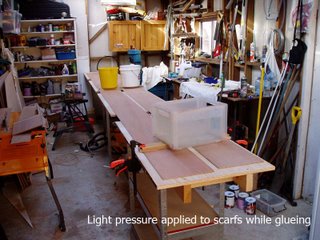
When using straight epoxy on the joint you have to do it in two stages. First mix up a batch of epoxy then paint the joints with it. Leave the resin to soak in for around 10-15 minutes. Come back and paint'em again, then put them together. Relatively light clamping forces are needed because you're not trying to squeeze out the thickened epoxy to make a tight joint. See the pic for my clamping rig. Just some pieces of scrap to spread the weight and some buckets of water as weights.
I will admit to one disaster with this setup. I had lost the piece of wood that I was using as a weight spreader and just grabbed another piece that was narrower. I put the bicket up there and the darned thing tipped over as soon as I let go of the handle! Curing epoxy looks very sad when it's mixed with water, turns all milky. I had to grab a rag and wipe all the water away then get a fresh pice to get all of the potentially contaminated epoxy out of the joints (I was doing two at a time). Anyways I got the whole mess sorted out and completed the joints.
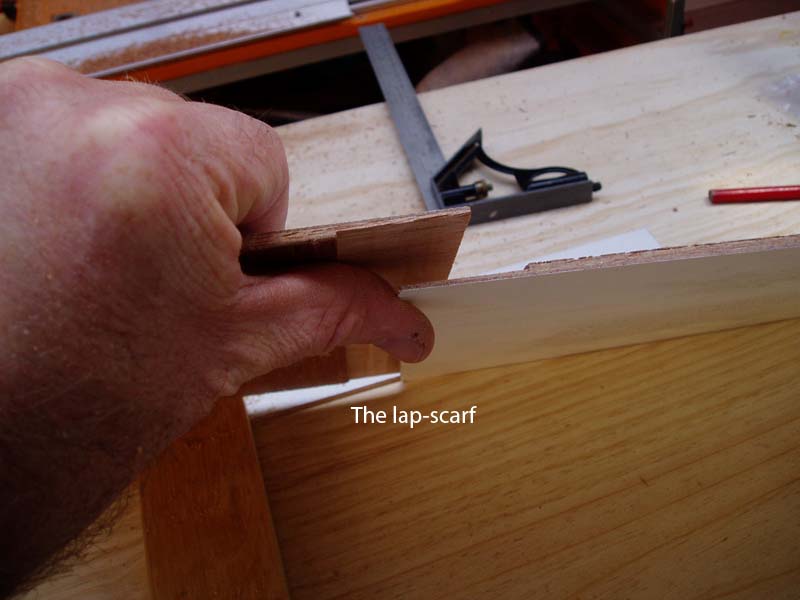
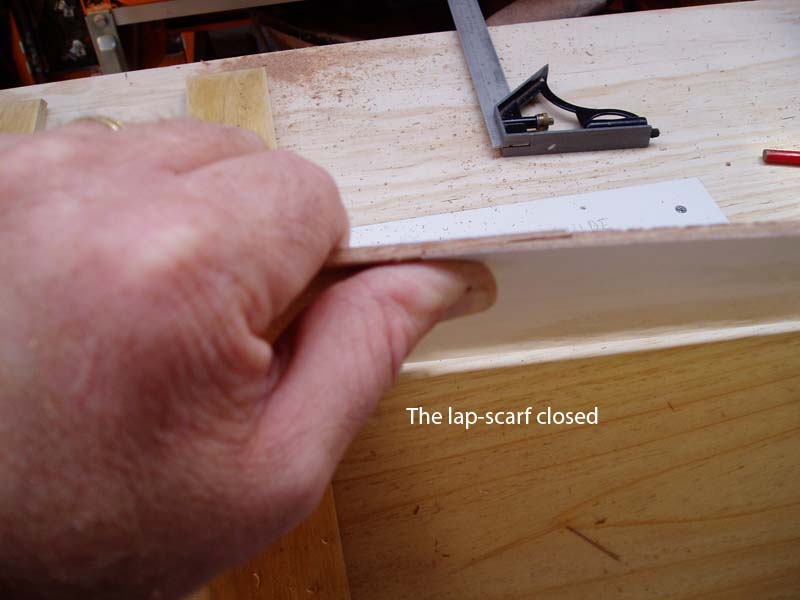
At this point I'd say the lap scrfs have been a success. They are very strong and the joint conforms well to any bend in the ply. The main provisos I'd put on them is, careful jig setup and then careful fitting before putting any epoxy on them.
Rethink on the tape issue
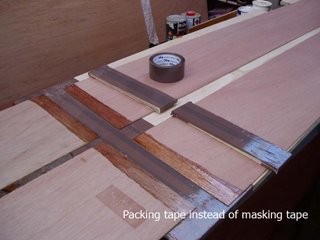

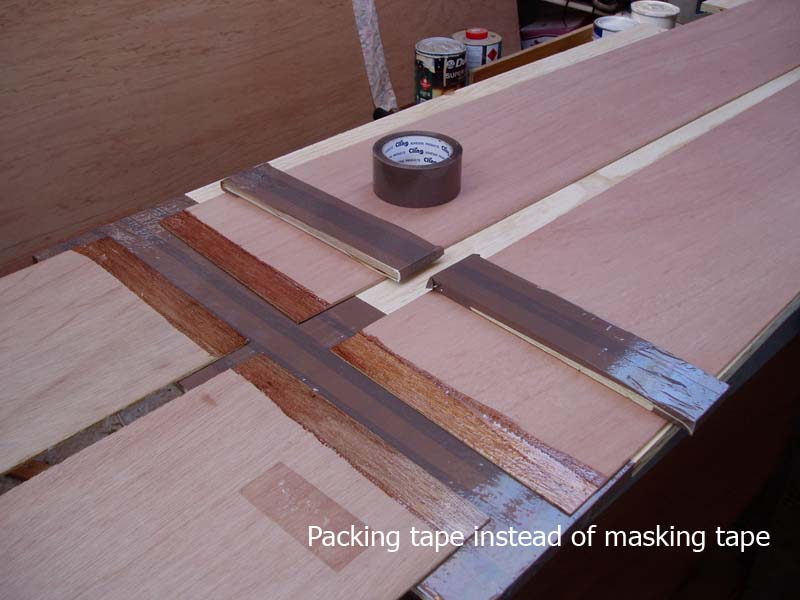
For the next job I used packing tape which I think is basically Mylar as a release agent. Each of the joints had a piece of scrap over it to even out the pressure. I put packing tape on that, intead of making tape. I also put a layer of packing tape down on the table to prevent unwanted adhesion. It's worth noting here that I have once again diverted from the makers instructions. Not only have I used a lap scarf instead of a bevelled scarf, I have
not used epoxy-filler mix for my adhesive.
I used straight epoxy on the joints as suggested to me by another builder on the Chesapeake Light Craft Builders Forum. I would highly recommend this forum to anyone who is building a stitch and glue boat. Anyway, the mylar tape released from the cured epoxy just fine. The squeeze-out was a little thicker and took a little more cleaning up but I wasnt trying to extract layers of tape from the whole thing which was the main benefit.
Cleaning up the joints

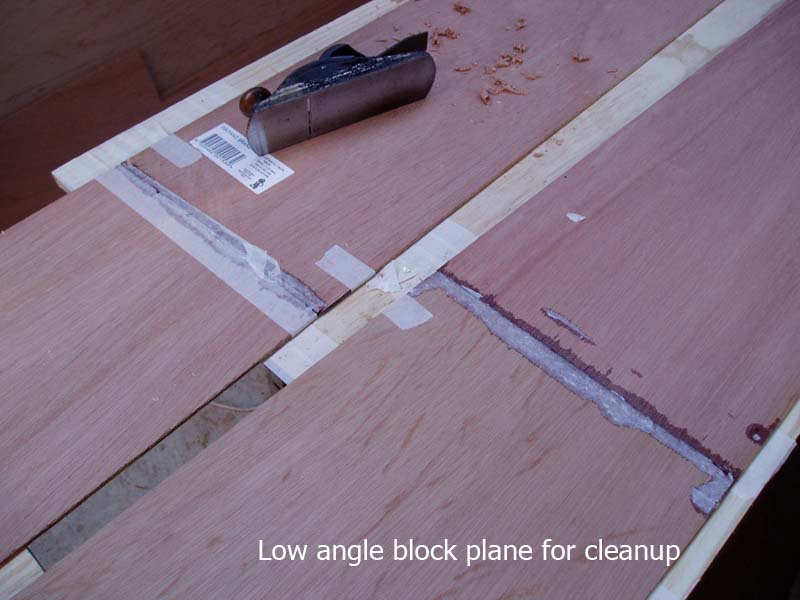
I used my low-angle block plane to smooth off the joints. The epoxy soaked into the masking tape making for an irritating cleanup. I also put down a layer of tape to stop the job sticking to the table. This also stuck to the joint. Sheesh! Me and my great ideas!
Bring on the epoxy!


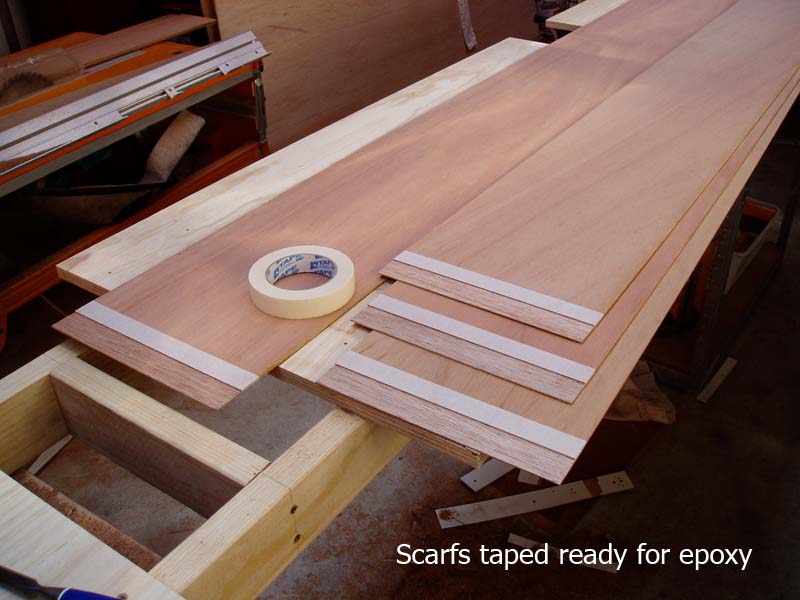
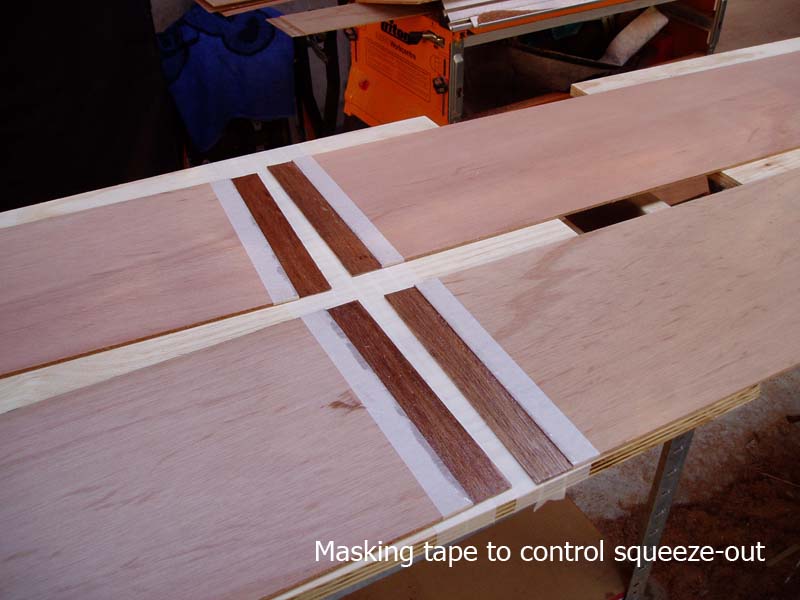
Here's my nicely routed planks ready for some nice epoxy. I put some masking tape on the edges of the cut to control the squeeze-out of the resin. This would turn out to be a fairly dopey idea


Here's the result of the jig. Each piece cut precisely down to half thickness. I plan to join these using unthickened epoxy. The trick is to paint both surfaces with catalysed epoxy, then leave the first coat to soak in. To complete the joint, paint again then clamp lightly.
Edit here! See the DISASTER! post above before doing this type of scarf. It's not up to the bending loads on the joint. It will fracture easily, leaving you with a lot of work to "do over". Stick to the book on this and make bevel scarfs.
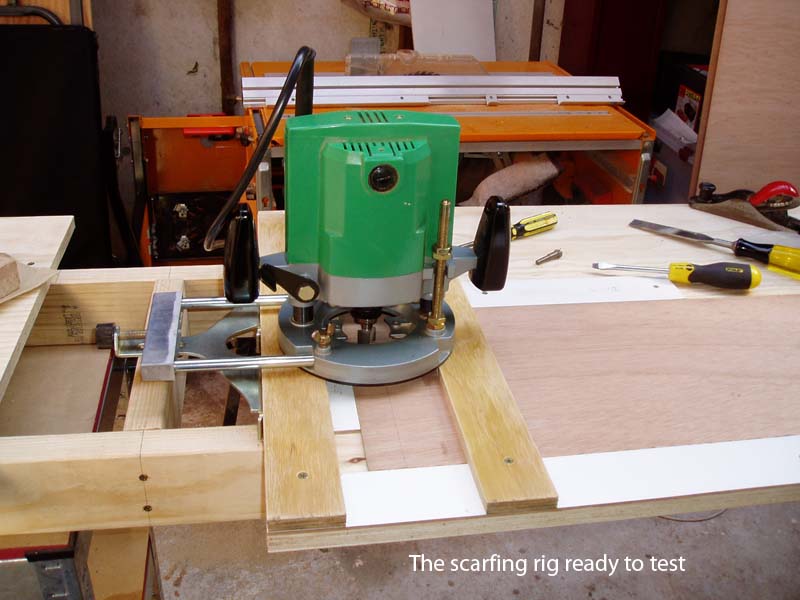
Testing the router jig.

I tested the jig on some scrap first and discovered that the resulting cut wasnt square with the side. This was caused by the fence guide not being proud of the end of the table. I had to reposition it so that the fence ran along it only and not the end of the table too.
Some progress

Well not much happened for a week or more but I have now put all the scarfs on the planks I cut. I may have mentioned before that i was not going to make scarfs in the usual way but do lap-scarfs. To achieve this I have made a jig for my router. The jig is simple. Two lengths of coated 4mm ply screwed to the table set the height and act as guides. Two pieces of 12mm ply at 90deg on top make the platform and the left hand piece serves as a guide for the router fence.