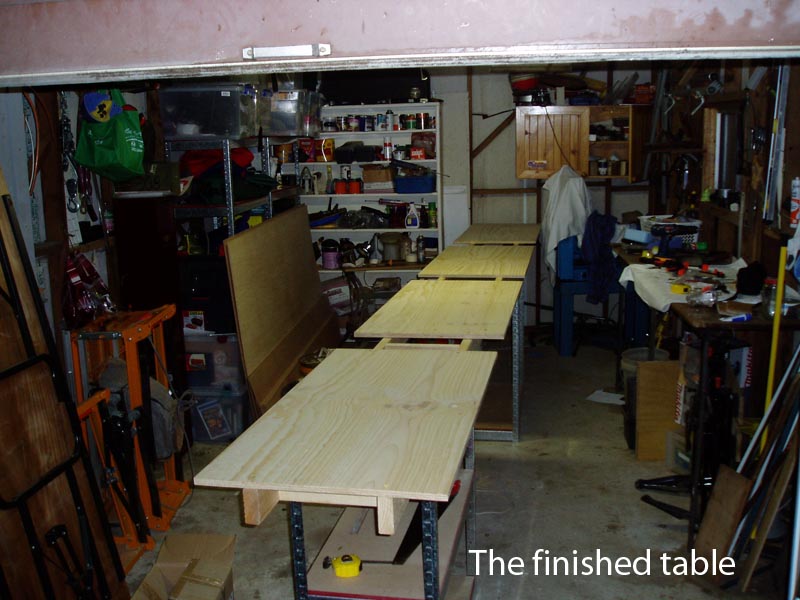
Finished table

Here's the table done. The idea is that I have sections to rest the parts on and gaps to add clamps. I'll probably do the sheer clamps on this table too. Here's the rough construction details. One sheet of 17mm construction ply 2400mm x 1200mm ripped lengthwise. Two beams of construction grade pine 35 x 70 x 6000 mm. I cut the beams down to 18 feet and cut the two pieces of 17mm ply in half across. I used the offcut from the pine beams to make the crosspieces and they came in at around 560mm. As you see, its on top of a couple of steel framed benches that I got from the local hardware megastore (Bunnings for the Aussies). You can make these up into either a shelving unit or two benches. I will rest the table on the benches while it is in use. I may have to screw a set of blocks onto the tops of the benches to stop the table from slipping off.
Table construction.

Lofting table. No big mystery to lofting. It's where you take the dimensions off the plans and tranfer them to the wood. Full scale of course! I have seen people loft on the floor which is okay I suppose but i thought it would be good to have a table, high up enough to work comfortably at and also to do a couple of the other steps in the "plans-built" process. Firstly, I have to scarf (join) the three pieces necessary to bring the craft up to seventeen feet. Next, the lofting phase, laying out the scarfed pieces and marking the "chine", "sheer" and "station" points. Then the final phase of lofting. Having laid out the points, you need to "join the dots" this is achieved with a "batten" a long flexible piece of material that will hold a fair curve. Finally, the cutting phase. Once again, height and clamps. So there you have it, enough work for me to invent the Scarfing/Lofting/Cutting table.
Ripping

"Here I'm ripping the planks that will end up being the sides and bottom of the kayak. I will need to join three pieces by scarfing them. Chesapeake reccomends a tapered scarf but my Dad suggested doing a stepped scarf with the router. To ahieve this i will have to build a jig to cut exactly half way through the ply. More on that later.
Beginning Construction

Here's the stack of plywood that I'll be transmogrifying into a Kayak. I hope...
The darker sheets are 4mmPacific maple marine ply and the lighter ones are 4mm Cedar marine ply. Hidden away is the sheet of 6mm and the 17mm I ordered for the lofting table. The beams for the lofting table are lying on the floor.
Hi to all you kayak builders out there. First a little about myself. My name is Ben Roberts and I live in Wollongong Australia which is approximately 50 miles South of Sydney on the coast. I am a Broadcast Engineer and at the ripe old age of 43 I have a wife and two kids (both girls. I am SO outnumbered!) . I have chosen to build a Chesapeake 17 LT from plans. Most people build from kits which have pre-cut plywood but I thought that it would probably be cheaper to build from plans.
The other advantage I could see was being able to pick and choose the materials from local suppliers. To this end I have selected for my hull: Pacific maple for the bottom and side panels and cedar for the decks. The Cedar is much more dense than the Pacific Maple but it has a beautiful figure in it. Should look great varnished!
If you want to know why I chose the Chesapeake design over the many on the market here's why. I like the shape and the fact that those who have them say that they paddle very well. I really like the cambered decks, especially the foredeck. They can be constructed to weigh around 13 kilograms complete and are very strong.
I looked around at some fiberglass and moulded plastic boats but really.... you cant beat wood! I am not an experienced paddler. Most of my kayaking was done in the Scouts back in the 70's. We used to race for the two or three kayaks on the canoe trips. If you didn't get a 'yak, you'd have to paddle a dunger old canadian for the trip. Sloooow!